Today we are going to build a home bar. This inspiration for this article came to me because a friend of mine asked me to help him with his bar and asked that I handle the entire thing.
I have built many home bars in my career and it is the easiest thing to do to upgrade your home. With a couple of cabinet bases and a wine cooler, you can have this complete in a day.
For this article, I am going to keep it super simple so that anyone can actually accomplish this. If you want to add a sink base cabinet and route some plumbing into the mix then you will likely need to hire a contractor or a plumber which is totally ok.
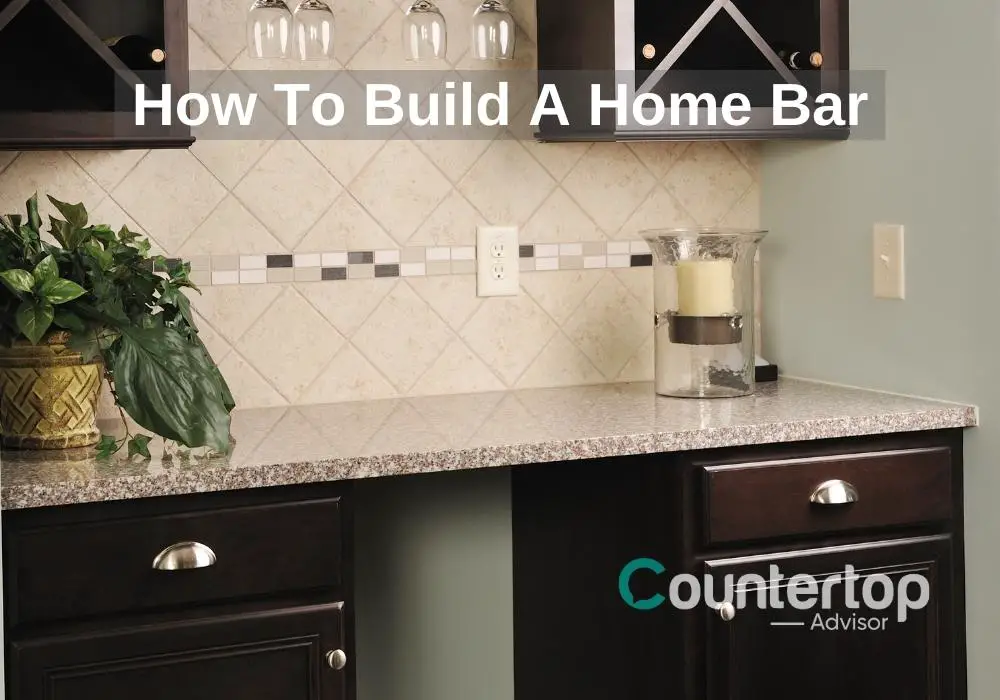
How To Build A Simple Home Bar DIY
Tips for the successful planning of your home bar:
Tip 1. Plan where you want to build your home bar.
Tip 2. Decide the type of material you want for cabinets and countertops.
Tip 3. Will you have upper and lower cabinets? What are some important elements of your home bar design?
Tip 4. Consult with a contractor for electrical and plumbing. It never hurts to have quotes in hand.
Tip 5. Decide if you are doing this yourself. Enlist the help of a skilled friend for some savings.
Tip 6. Purchase your material. This includes cabinets, faucets, sinks, cabinet hardware, and any tools needed to complete the home bar project.
Tip 7. Be sure to check the dimensions of everything you purchase for the structure of your bar. You don’t want any surprises later. Check the cabinet height, the wine chiller height and everything about your project and map it out.
Now lets build the home bar:
Step 1. Remove baseboards to cut to size later in the installation.
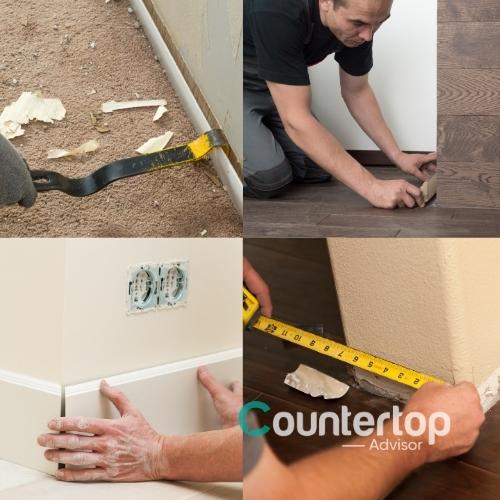
There is a proper way to remove your baseboards without damaging your walls or the baseboards. Use a thin pry bar to pry it away from the wall and place something inside to hold it from pushing back in. Then work your way down the rest of the wall to remove the entire baseboard.
Step 2. Assemble your cabinets and wine chiller.
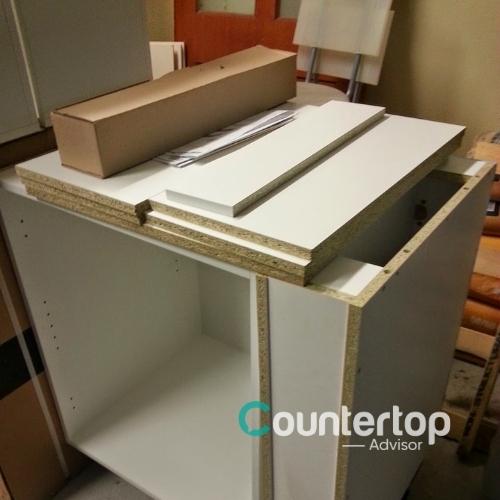
This might actually be the hardest part of building your home bar yourself. Putting together a flat-pack cabinet isn’t extremely hard but you will need a drill, screws if it doesn’t come with them, and wood glue.
Everyone has a family member who is a handyman man so enlist this person’s help if needed. It is important to get this right as this is the structure of your new home bar and must be strong to hold countertops.
Step 3. Screw the bar cabinets to the wall and add your wine chiller.

It is important to screw into the studs of your wall so that your cabinets are held strongly against the wall. Be sure to mark the studs so that you can hit your target every single time you need to insert a screw.
Step 4. Add back your baseboards.
All you really need to do now is to cut the baseboard down so that it will fit back into the original spot minus the new home bar cabinets you have installed. To do this measure from the start of the baseboard to your cabinet. Mark your line on the baseboard and use a miter saw to make the cut.
Make sure you are within an eighth of an inch on point because you don’t want a gap between your baseboard and the cabinet. If you are off by a small margin you can use caulk to fill in the gap.
Step 5. Add your countertop and glue it down.
For this part, you may need to hire a countertop professional as granite, marble, and quartz countertops are very heavy. No matter the length of your home bar it will likely be heavy and require two people to carry it.
If you opt to install this on your own be sure to run a bead of clear silicone along the bottom of the countertop where it meets the of your cabinets to ensure it is glued down.
Now you have a simple home bar. If you decided to go with a sink or other addons then be sure to follow all manufacturer recommendations. It is wise to consult with a contractor before tackling this on your own.
Best Cabinet For Home Bar
There are many cabinet options for a home bar and I have had experience with a ton of brands and styles but this cabinet by Lily Ann has been my go-to for a number of years because of the quality and style.
You can choose other brands and styles of cabinets but to me, this is a great cabinet and all of my customers have really been satisfied.
Here are some other cabinet recommendations:
Invalid table id.If you want to see all of the base cabinet options for your DIY home bar then check out all of these base cabinets here. You are sure to find the one you love.
To make this an actual bar we will be placing the two base cabinets side by side leaving space in between to fit the new wine chiller.
I will show you the design in just a few moments but here are some great chiller options:
Invalid table id.Alright, by now you should have the concept of how this is going to go. Essentially we are placing two 18″ cabinets side by side with a wine chiller in between the two cabinets. This will create the base structure for our home bar. You can use larger cabinets like a 24″ or a 36″ if you want.
What To Look Out For
So you are ready to build your DIY home bar but don’t know if there will be any issues causing your project to stall. I cannot possibly name all of the potential issues but I can name the main few that will likely come about.
There are minor issues that could stall your DIY home bar project and they are:
- Baseboards are typically in the way. These will need to be cut and removed to form the length of your DIY home bar.
- Plumbing will need to be added if you chose to go with a larger base cabinet to place a sink in it. This is a great idea but be aware that you need to hire a plumber.
- Electrical outlets will need to be added so that you can power your wine chiller. You should always consult with an electrical professional.
DIY Home Bar Countertop Options
You are on the perfect website for countertop options. I have listed all of the possible countertop options available here on my website. Start by researching the best options to match your style and consult with your local countertop professional.
Here are some of the most popular DIY home bar countertop options:
- Granite
- Marble
- Quartz
- Wood
If you are building your home bar near a kitchen or anywhere other countertops are visible then I do suggest that you use the same material however if a good contrast can work then, by all means, make it happen.
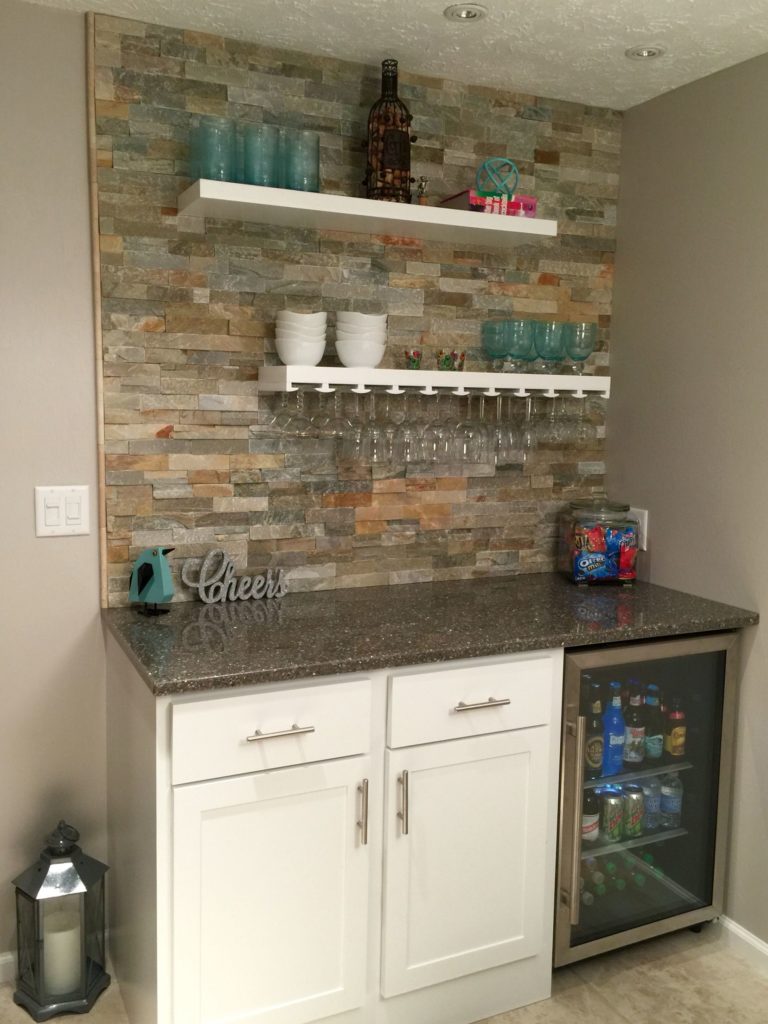
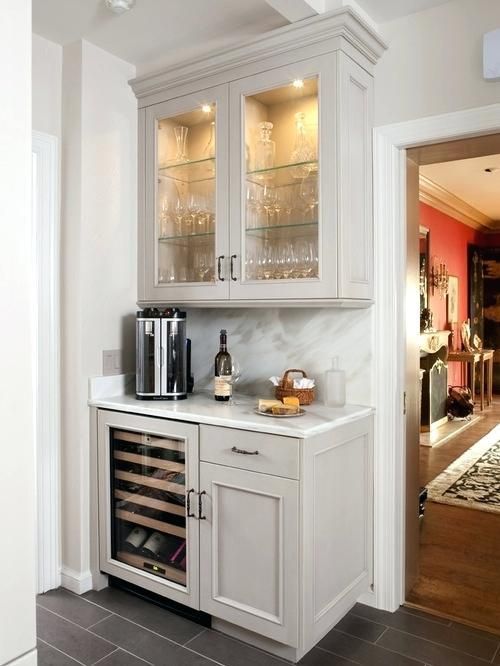
Here are some excellent home bar designs that you could use for inspiration: