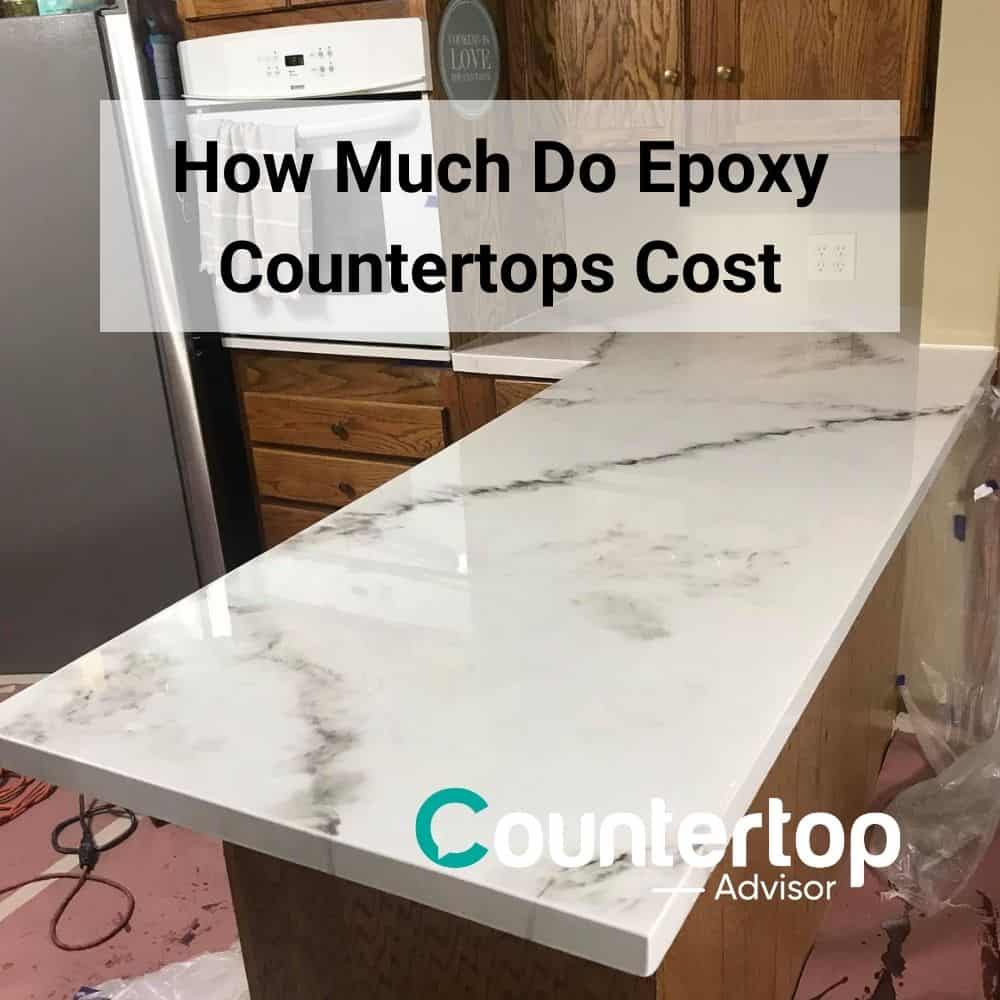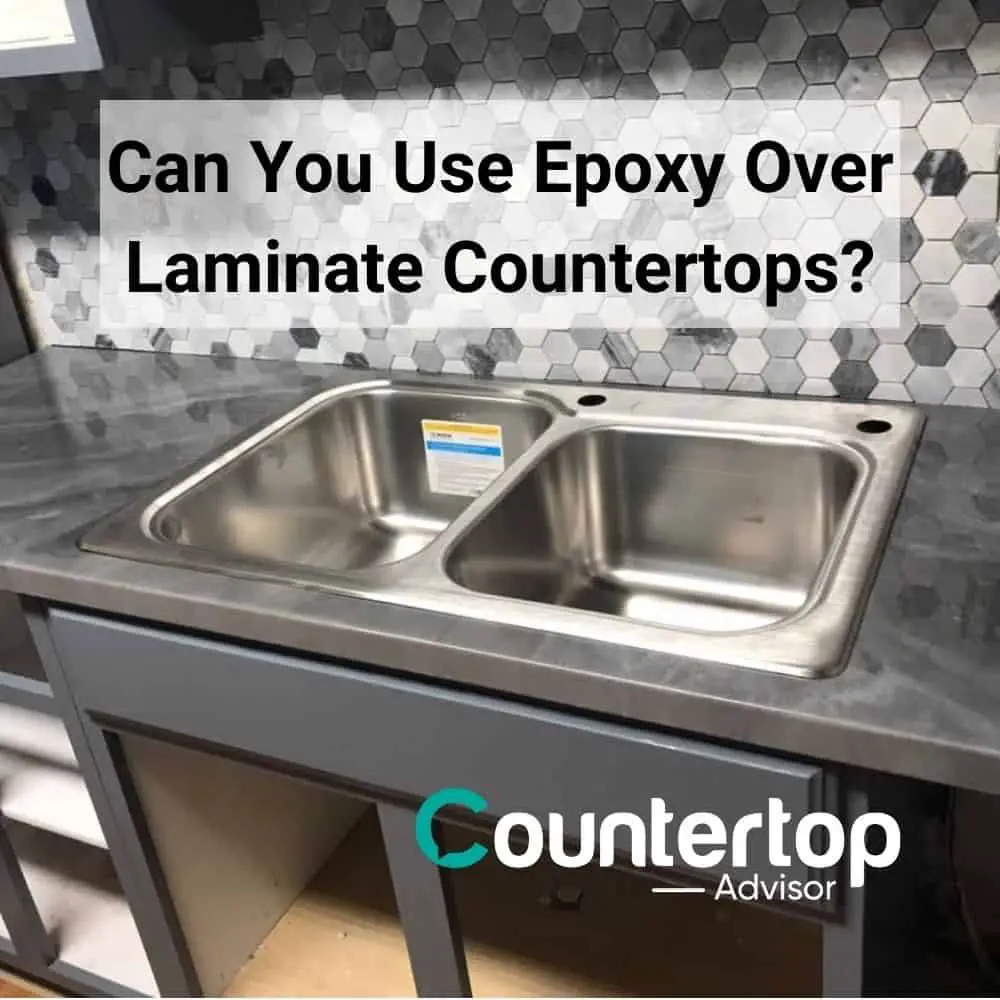
If your laminate countertops have become damaged, discolored, or stained, you may be looking for an affordable way to make your countertops look fresh and new again. One of the best ways to do this on a budget is to use epoxy over laminate countertops. Epoxy coatings provide you with an affordable way to revamp your laminate countertops and create an attractive and durable finish. Epoxy coatings allow you to change the color of your countertops to match your current decorating scheme.
Epoxy can cover almost any surface; however, there are steps that must be followed. If the surface is porous, you must prepare it before applying the epoxy. Epoxy can be directly applied to many different surfaces, including laminate countertops, Formica, MDF, ceramic, tile, metal, glass, and porcelain. However, before the epoxy is applied, you must ensure that your countertop surface is clean. Let’s take a look at the steps involved when applying epoxy over laminate countertops.
Step One: Sink Removal
In order to apply epoxy over laminate countertops, the sink will need to be removed. Removing a sink involves unhooking the water lines and the drain lines from the sink, removing the silicone caulk from around the sink, and removing the hardware that attaches the sink to the countertop. After this, the sink can easily be lifted from the countertop.
Step Two: Protect Cabinetry and Flooring
The epoxy used to transform a countertop can be messy; therefore, the cabinetry and flooring, and countertops must be protected. A roll of three mil plastic and painter’s tape is used to prevent the epoxy from getting on the floors or cabinets. In addition to this, rosin paper is used to protect the floors and prevent slips and falls during the installation process.
Step Three: Prep the Countertop for Epoxy Application
Properly preparing laminate countertops is key to ensuring the epoxy adequately bonds to the countertop surface. The countertop must be cleaned using TSP. TSP effectively removes grease and grime from the countertop surface. Once the countertop is wiped down with TS, the laminate countertop surface will be roughed up using sixty grit sandpaper. Then, the dust and debris must be wiped up using a damp cloth.
Step Four: Mix the Epoxy
Epoxy countertops are made by mixing the epoxy resin with a hardener. The two parts should be mixed for at least two minutes to ensure the hardener is dispersed throughout the resin. A specialized mixing blade that attaches to a drill ensures the epoxy is properly mixed and ready for application.
Step Five: Apply the Epoxy to the Laminate Countertop
The epoxy mixture should then be poured onto the center of the countertop. A notched trowel will then be used to spread the epoxy evenly across the entire countertop surface.
Step Six: Torch the Countertop
A small propane torch or a heat gun is used to remove air bubbles from the epoxy. The torch is moved across the surface of the countertop using a sweeping motion about 2 to 3 inches from the countertop surface.
Step Seven: Curing the Epoxy Countertop
Once the countertop has been torched and all of the air bubbles have been removed, the epoxy must be allowed to completely cure. The epoxy will be dry to the touch after 24 hours; however, the epoxy will not be fully cured for at least three days.
Step Eight: Reinstall the Sink
Once the epoxy countertop has completely cured, you will want to reinstall the countertop. The plumbing connections must be remade, and the sink must be fastened down with the sink hardware. Finally, the sink must be caulked into place before the sink is fastened down tightly to the countertop.
Step Nine: Caulk the Epoxy Countertops
Two different types of caulks will be used. Silicone caulk will be used to caulk the area where the countertop meets the backsplash. In addition to this, latex caulk will be used where the backsplash meets the wall.
Step 10: Clean Up
The last step of the process is to clean up the area. The painter’s tape and the plastic sheeting will be removed from the cabinetry. The rosin paper will be removed from the floor. Once they have been removed, the floor will be swept and mopped.
Final Thoughts
If you want to update your countertops but are on a budget, epoxy countertops may be the answer. These durable countertops will provide you with many years of enjoyment.
For a deeper look at the full DIY refinishing universe — epoxy, paint, mineral kits, concrete overlays — see my DIY countertop resurfacing comparison covering 5 kits an installer would actually recommend.